Smart Home
We started simple to automate the house: a couple of Ikea lights, two motorized shutters Several years on, it was time to connect these different systems and add more smartness.

I set up a Raspberry Pi 4 running hassos OS to manage the connected systems in our current home. It consumes just 4W, so that saves a lot compared to running it on a desktop (iMac 24/7 with Oracle VirtualBox would consume 36 W = 308 kWh/year).
HomeAssistant (HA) allows manual and automated operation of different smart lights, blinds etc. all in one place with all smartness running locally without relying on cloud services.
Apps and API’s
Manufacturers sometimes offer an app to control their devices. Those apps often pass all your data via a cloud (server on the internet): a security risk, and limited to what data the manufacturer wants to expose. A few examples:
- Ikea Tradfri: Ikea Smart app + Tradfri hub
- Tuya Smart: Tuya app + Tuya bridge
- Nibe heat pump: MyUplink app + UTP
- Luxaflex shutters: PowerView app + bridge
- Casambi lamps (bluetooth): Air app + iPhone as BLE bridge
- Honeywell thermostat, Itho ventilation: evohome + RF bridge
Some have an API
Some manufacturers share the data their app uses as an application programming interface API to which HA can connect. If they don’t, you have to find out for yourself what data is passed around via Zigbee, WiFo or Bluetooth, next try to understand what all that data means and how you can imitate some of it. When they apply advanced encryption, reverse-engineering aq protocol is nearly impossible!
Standard supported HA Integrations I use:
- Ikea Tradfri lighting, smart sockets and blinds
- Tuya Smart Zigbee (also for OEM like Lidl)
- PowerView Hunter Douglas/Luxaflex curtains & blinds
- SolarEdge PV panel convertor
- Tado smart thermostats
- Siemens/Bosch Home Connect (washing machine alerts)
- MyUplink, the current protocol for our Nibe F1255 heat pump
HA Community Integrations allow additional systems to tie in via HACS (Home Assistant Community Store) and even by adding custom repositories from GitHub in HACS, e.g.
- myenergi (Zappi EV charger and energy monitor)
- Gardena garden sprinkler timers
- Casambi Bluetooth (not using the Casambi API/server/gateway)
As Open Source python programms, people code Integrations for HomeAssistant (HA). I installed a few in HA, such as PowerView and Ikea Tradfri. From a privacy and security standpoint it is preferred to connect directly to a device, bypassing these APIs.
For our Nibe F1255 heat pump there is a Swedish program that connects to the ModBus connection instead of via the API, and sends/receives MQTT messages via Wi-Fi on a PiZero microcontroller.
HA Apps
HomeAssistant supports so-called Apps that provide extra functions on the Pi4 server. I use:
- File Editor (to edit config files in the iOS app, or remotely via)
- Advanced SSH & Web Terminal
- Mosquito Broker (for MQTT messaging on the local Wi-Fi network)
- Samba NAS (to access a shared folder on the RPi)
- InfluxDB (to collect long term energy statistics)
MQTT is used to connect independent devices to HomeAssistant, for instance:
- nibepi to control our Nibe F1255 heat pump over Modbus, running on a separate Raspberry PiZero
- Custom AGA Display
When you shop for a new gadget, take note of the supported protocol, for example HomeKit, Zigbee/Tuya, Matter or Thread. I would not recommend OEM or private protocols als you might end up with a dedicated bridge for each. And they are always on, consuming a couple of Watts.
Energy Monitoring
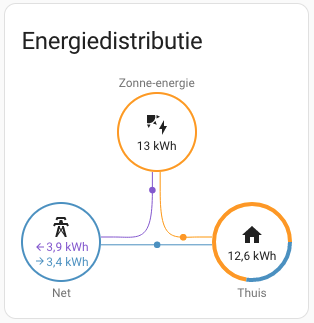
By combining the utility meter readings with the SolarEdge PV generation and myenergi Zappi EV charger figures, I am able to separate the EV charging from the electricity consumed in the house. And by adding two extra CT clamps in the main switch board I got a grip on our bigger electric appliances, such as the electric stove.
Custom tools
I coded some extra hardware to customise exactly what I was looking for. Using MicroPython and ESPHome this is in fact not too difficult. I encourage you to try this out instead of making do with all the closed-source hardware.
Smart Oven Display
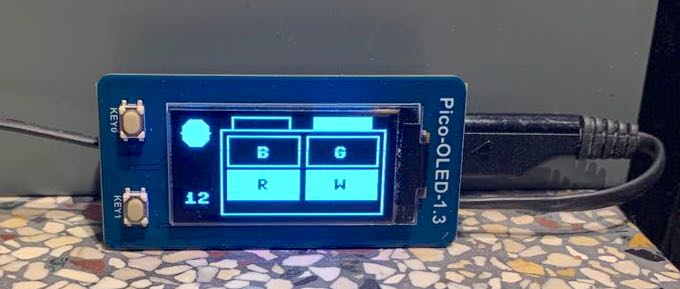
I happened to forget shutting down the stove a couple of times, as there is no indicator light or buzzer on the AGA Cooker. That meant 1-2 kWh lost in space! To fix this, I connected a Raspberry Pico microcontroller with a 1.3" OLED screen to HomeAssistant via MQTT/Wi-Fi. As soon as the sensor in the main switch board signals that the stove is on, it sends an MQTT message which wakes up my ovenside display, showing which hub or oven is on. A timer starts preheating timing of either a cooking hub (15 mins) or one of the ovens (60 mins). After the set period we receive an alert on our phone telling us "Oven is Ready". And after 2 hours, I am reminded if I still mean to have the stove on. Energy spill contained!
See this blog post for details.
Smart Fan
In an energy efficient house, air exchange must be managed. Excessive ventilation would lead to either too hot or too cold rooms. Relying only on natural ventilation proved not to fuction, either for lack of pressure/wind or excessive noise from traffic waking us up at night.
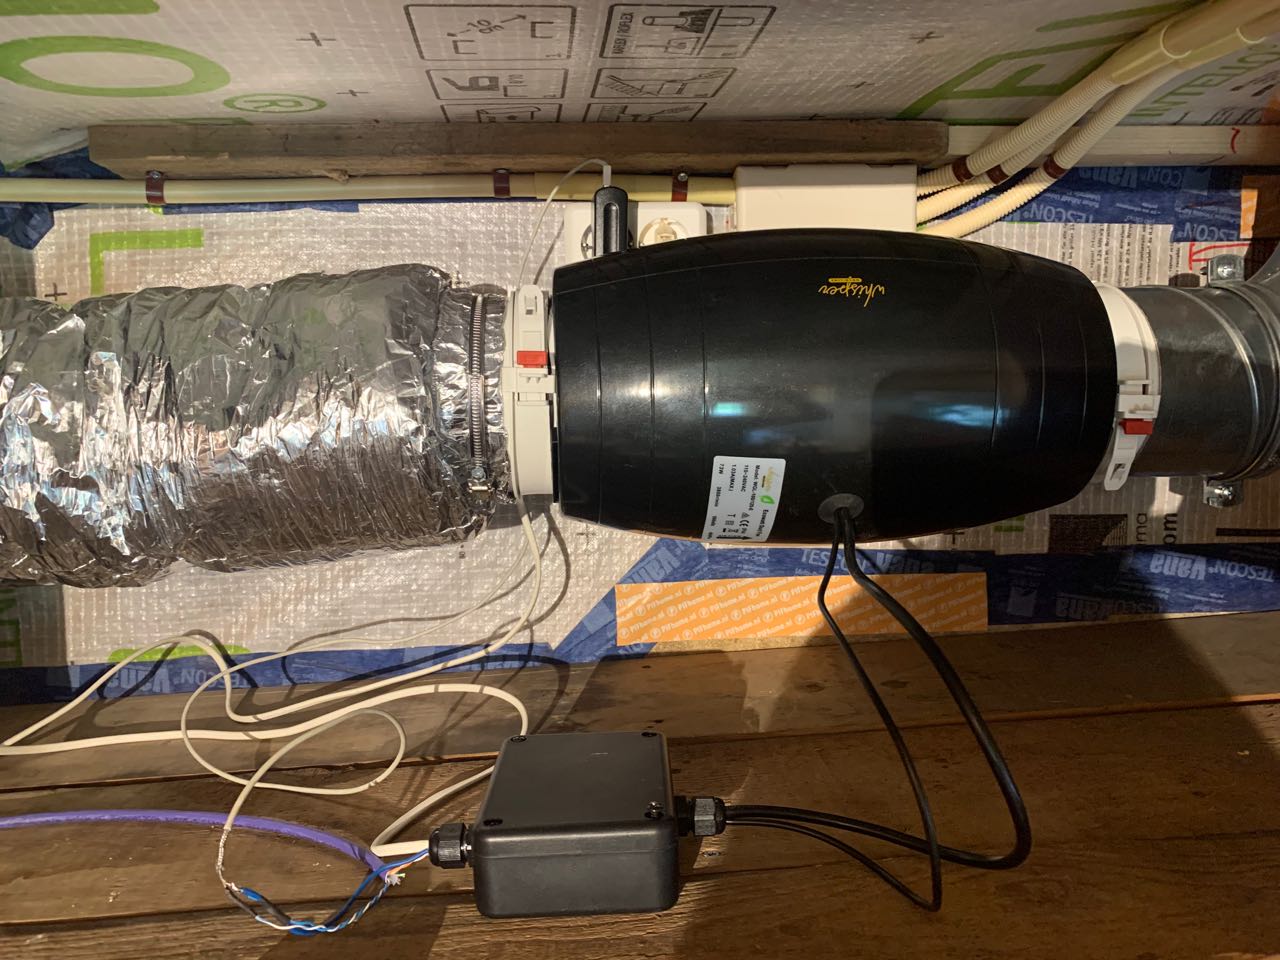
Using the CO2 sensor already in place to drive the fan speed, I programmed a small ESP32 Atom Lite controller to extract just the required amount of air from our bedroom, using a variable speed fan mounted outside the room.
See this blog post for details.